20.My Pocket


In this post I'll show you about the my pocket application & how to use it for logging our daily incomes & expenses.


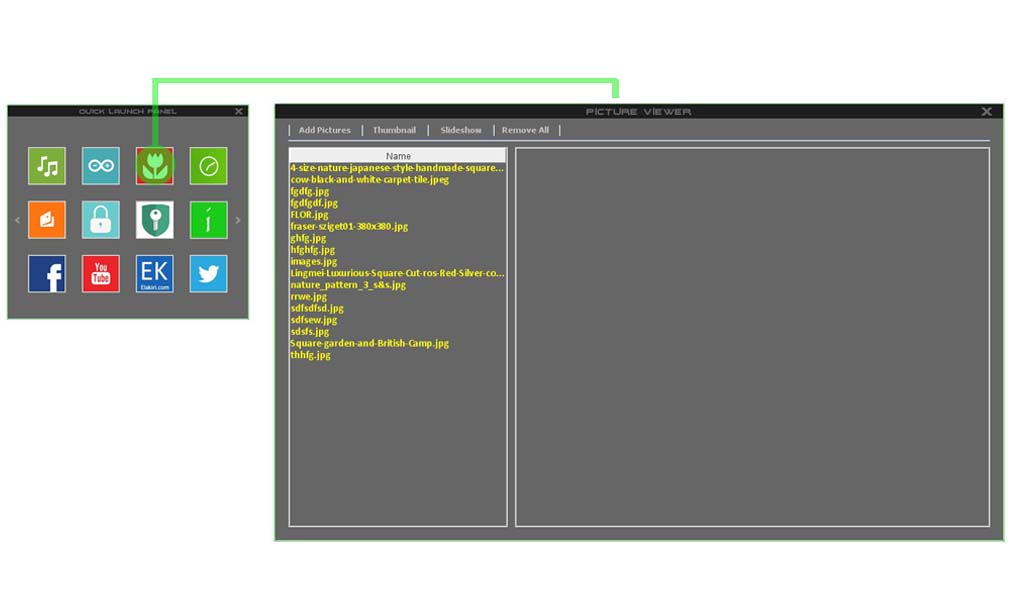
To open this application , we have to click the highlighted icon in quick launch panel as following image.Then it will open another window to enter our username & password which we have given to the email client.If we can't remember our password , still we can open the application by using the default password.The default password for this application is "PassMe" without quotes & username field keep as it is.Then it will open the application as below.


I'll describe follow image as number vise.

1.Add Record 

We can add new record by clicking this button.Then it will open another window as below.


1.Selecting the day

We can select the date by clicking this drop-down list.

2.Selecting the month

We can select the month by clicking this drop-down list.

3.Selecting the year

We can select the year by clicking this drop-down list.

4.Selecting cash flow

We can select the cash flow by clicking this drop-down list.

5.Amount without cents

In here we need to type the cash flowed amount as numeric (letters are not allowed , only numbers). And it shouldn't include the cents amount.

6.Amount of cents

In here we need to select the amount of cents of the cash flow.

7.Rate Conversion -  Amount

If we want to convert the amount of the cash flow into another currency , we have to type the conversion rate as numeric (letters are not allowed , only numbers). And it shouldn't include the cents amount. 

8.Rate Conversion -  Cents 

If we want to convert the amount of the cash flow into another currency , we have to select the cents amount of the rate conversion.

9.Add a remark

If we want to add a remark to identify the record , we can type it in here.

10.Adding the record 

After complete all the steps , we need to click this button to add the record to the database.

2.Preview Pane

After we add records , those will show in here.

3.Pie Chart

In here it will show all the balance & income & expense as pie chart.

4.Total income

In here it will show the total income of all the records.

5.Total expenses 

In here it will show the total expenses of all the records.

6.Total Balance 

In here it will show the total balance of all the records.

7.Month - Reports

In report generating , we need to select the month by clicking this drop-down list.

8.Year - Reports 

In report generating , we need to select the year by clicking this drop-down list. 

9.Generating report

After we select the month(7) & year(8) , we need to click this button to generate the report.Then it will filter all the records as per the month & year we have selected.Then those all records will show in the preview pane(2) , as well in charts(3). Also it shows the total income , expenses & the balance for the selected period.

10.Clear the filter

By clicking this button it will clear the filter & reset the preview pane.

11.Remark

When we click any record in the preview pane , it will show the remarks of that record in here.


In next post I'll show you about the folder locker.


19.Alarm - Timer


In this post I'll show you about the alarm as well as the timer application.This both functions are in the same application.
As following image , we can open the alarm-timer application by clicking the highlighted icon in the quick launch panel.And the application will be like below.


I'll describe all the functions as following image in numbers vise.

Alarm

1.Adding alarms

We can add new alarms by clicking this button.Then it will open another window like below.


1.Selecting hour

We can select the hour by selecting this drop-down list.

2.Selecting minutes 

We can select the minute by selecting this drop-down list.

3.Selecting meridian 

We can select the meridian by selecting this drop-down list. 

4.Name for the alarm

We can give a name for the alarm by typing here.

5.Selecting Tone 

We can select a tone by selecting this drop-down list.Also we can give a custom tone as below.


To a give custom tone , we need to select the highlighted option.Then it will open a window for select a tone.

6.Selecting the repetition 

We can select the repetition by selecting this drop-down list.

7.Adding the timer

After selecting all the details , we can adding the record to the system , by clicking this button.

2.Alarm list

In here we can see all the alarm records , which we have set.


As following image ,

1.Alarm time

These are the time of the alarm records.

2.Alarm repetition 

These are the time of the alarm records.

3.Name of the alarm

These are the names we have given for the alarms.

4.Alarm status

These are the status for the alarms.If we click here we can change the status from on to off & off to on.

5.Removing an alarm

If click in here of an alarm record , we can remove  that alarm record.

Timer


3.Selecting hours

We can select the hours for the timer from this drop-down list.

4.Selecting minutes

We can select the minutes for the timer from this drop-down list.

5.Selecting Tone

We can select a tone for the timer from this drop-down list

6.Start the timer

We can start the countdown of the timer by clicking this button. 


In next post I'll show you about the income & expenses logging application.

18.Picture Gallery


In this post I'll show about the picture gallery & how it works.

As following image , we can open the picture gallery by clicking the highlighted icon in the quick launch panel.And the picture gallery will open with loading the images from the folder which we have give in the settings window.


As following image I'll describe an each function by number vise.

1.Adding images to the gallery 

We can add more images by clicking this button .And it can be single images or folder of an images. 

2.Creating thumbnails 

By clicking this button , it will show all the image as thumbnails in preview pane(6). 

3.Slideshow 

It will start to play a slideshow of all images , if we click this button. 

4.Clear the file list 

It will remove all the images from the preview pane(6) and as well as from the file list(5). 

5.File list 

It will show all the images as a list in here , which are loaded in the application.If we click any item it will show in the preview pane(6) as a thumbnail. 

6.Preview Pane 

It will show the  images as thumbnails in here , which are in the file list.If we click any image icon in here , it will open in a separate window as below.


0.Previous image 

We can view the previous image in the pane , by clicking this button. 

1.Start slideshow 

It will start to play a full screen slideshow of all the images , by clicking this button. 

2.Next image 

We can view the next image in the pane , by clicking this button. 

3.Close 

We can close the image viewer by clicking this button.


Also when it plays images as full screen slideshow it will be like below. 


0.Previous image 

We can view the previous image in the pane , by clicking this button. 

1.Stop slideshow 

It will stop the slideshow , by clicking this button. 

2.Next image 

We can view the next image in the pane , by clicking this button. 

3.Close 

We can close the image viewer by clicking this button. 


In next post I'll show you about the Alarm / Timer window.


17.Tag Editor - Organizer


In this post I'll show you about the mp3 file organizer & how it works.


Tag editor is located in the quick launch panel.As following image , we can open tag editor by clicking #1 icon.


I'll describe you about the tag editor by number vise as following image.

1.Adding files to the database

By clicking this button , we can add files / folders to the database.Then it will add all the mp3 audio files to the database.

2.Clearing the database

By clicking this button , we can remove all the records from the database.

3.Removing selected records

By clicking this button , we can remove only selected record from the database.we can do it by clicking the records which are showing in the file list(7).

4.Removing specific records

By clicking this button we can remove only specific record set from the database.When we clicked this button it will open another window as below.


1.Removing specific records

If we want to remove any record which completes the given condition , we need to select this option.Then we need to make a condition by selecting #2 , #3 , #4 values.And click remove(6) button.Then it will remove all the records from the database which completes the given condition.

5.Removing specific records which are filename not equals to the title.

If we select this option & clicked remove(6) button , it will remove all the records from the database , which filename & the song title are not the same. 

5.Filtering mismatch items

If we clicked this button , it will show all the records in the file list(7) , which filename & the song title are not the same.

6. Filtering duplicates 

If we clicked this button , it will show all the records in the file list(7) , which are have same song title.

7.File list

In here it shows all the records which are in the database.

8.File Name

If we click any record from the file list(7) , it will show the file name of that song in here.

9.Song title 

If we click any record from the file list(7) , it will show the title of the song in here.Also we can edit this field.

10.Artist of the song 

If we click any record from the file list(7) , it will show the artist of that song in here.And we can edit this field or we can select any record from the drop down list.

11.Album of the song 

If we click any record from the file list(7) , it will show the album of that song in here.And we can edit this field or we can select any record from the drop down list.

12.Author of the song 

If we click any record from the file list(7) , it will show the author of that song in here.And we can edit this field or we can select any record from the drop down list.

13.Genre of the song

If we click any record from the file list(7) , it will show the genre of that song in here.And we can select any genre from the drop down list.

14.Path of the file

If we click any record from the file list(7) , it will show the path of the mp3 file.And if we click here , it will open the location in windows explorer.

15.Update the record

After we made the changes to the selected record , we can update it in the database by clicking this button.

16.Selecting next record 

After we made the changes to the selected record , we can update it in the database and select previous record in the list by clicking this button.

17.Selecting previous record

After we made the changes to the selected record , we can update it in the database and select next record in the list by clicking this button.

18.Searching Records

If we want to find any record or record set , what we need to is , type any phrase of the record in this field & click the search(19) button.

20.Audio Player

After we select any record from the file list(7) , we can play that record by using this mini audio player.

21.File organizing

After we done all the changes to all the records , we can organize them according to the settings which we have given in the settings window.And copy them to the given folder in HDD.In organizing it will do the ,

  • Renaming the mp3 files
  • Editing the tag details
  • Sorting the files by genre vise
  • Sorting the files by author vise
  • Copy the files to the given folder 

Below video will show how to do the mp3 file organizing.


In next post I'll show you about the picture gallery.